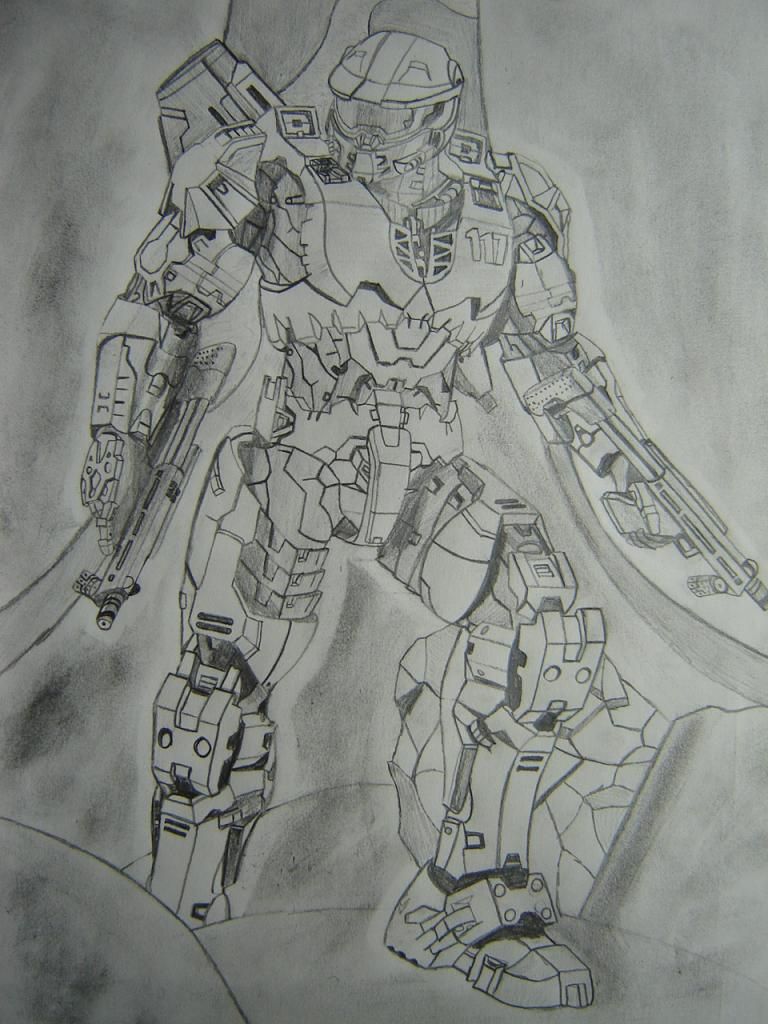
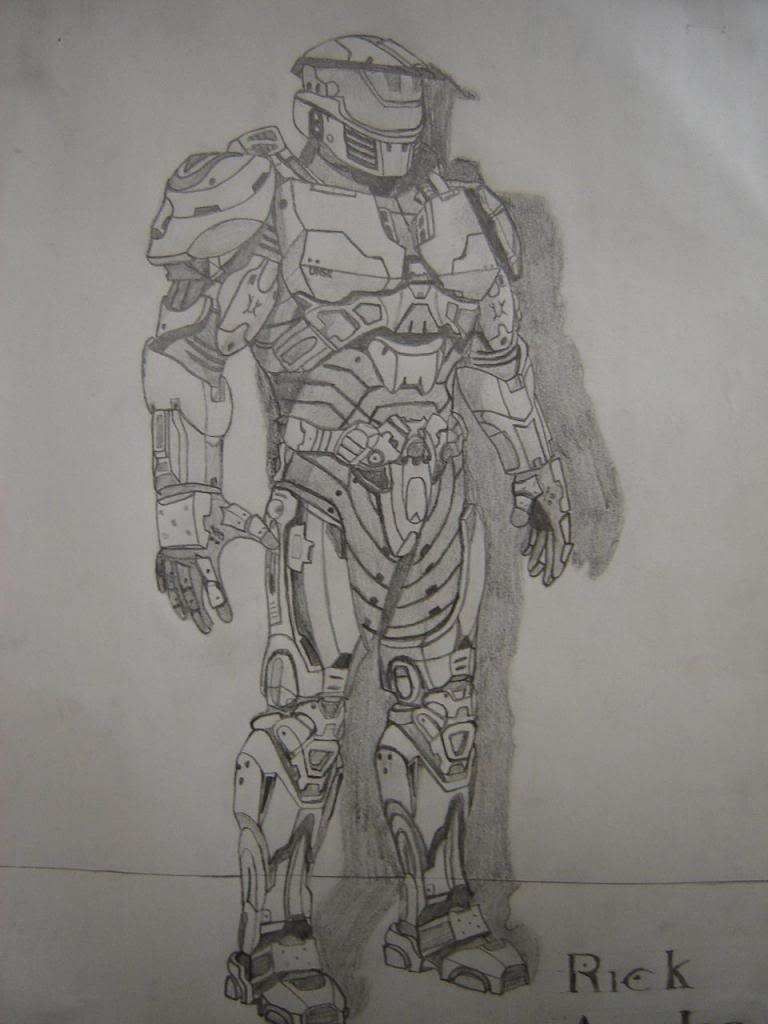
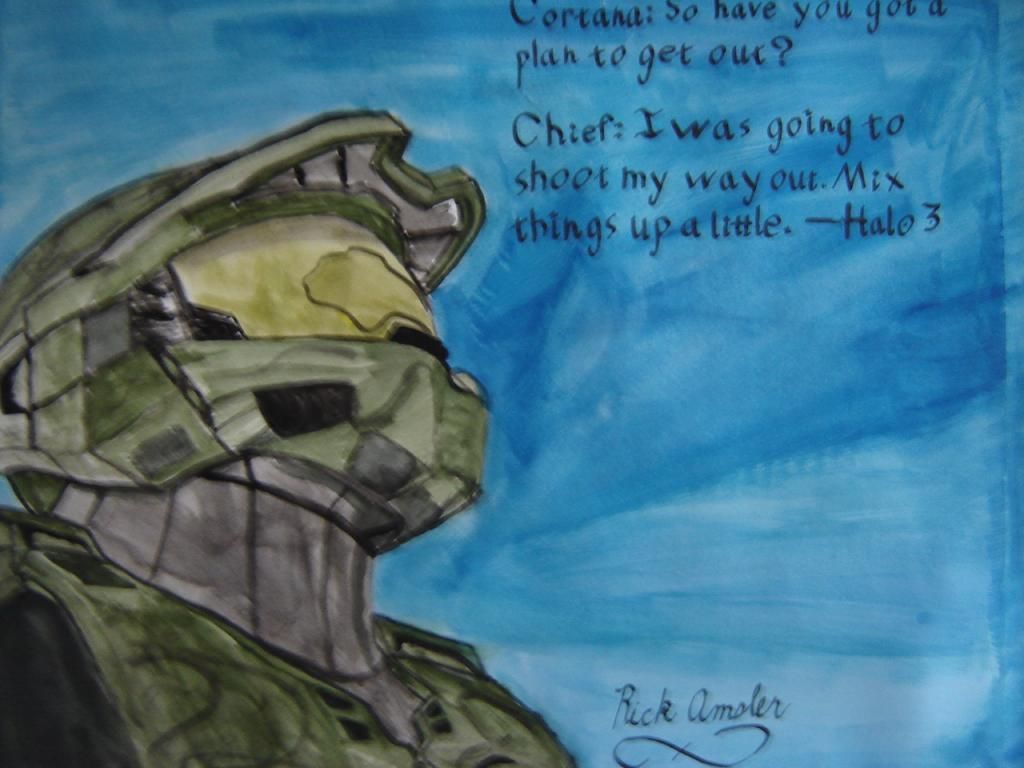
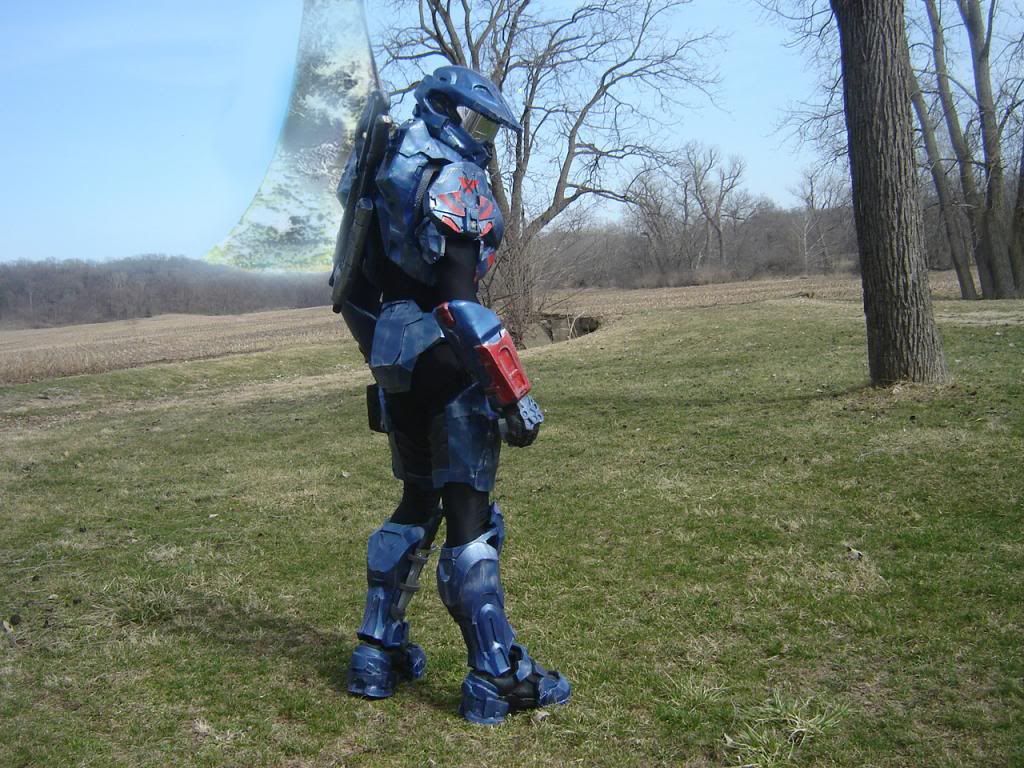
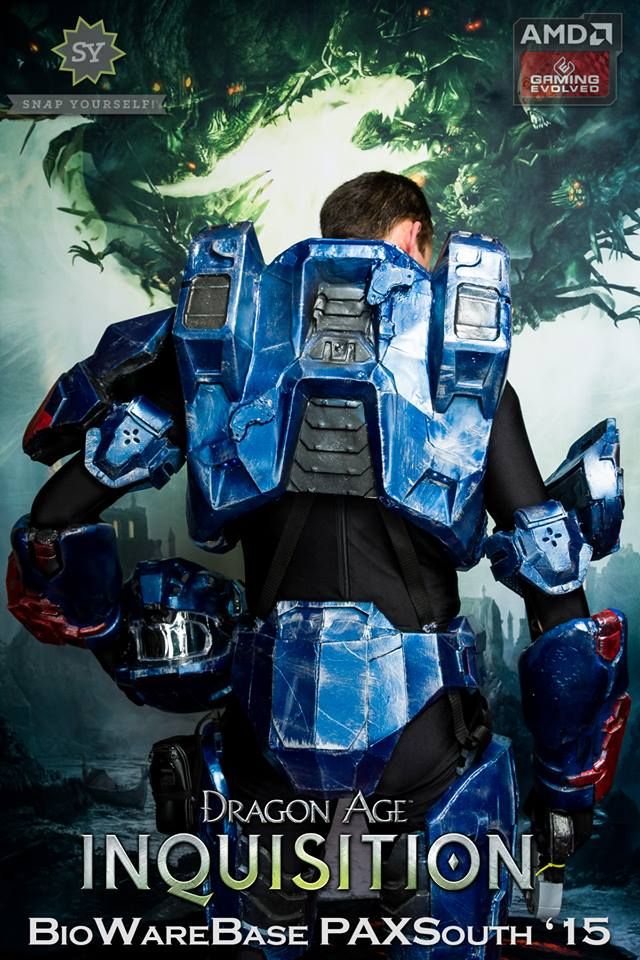
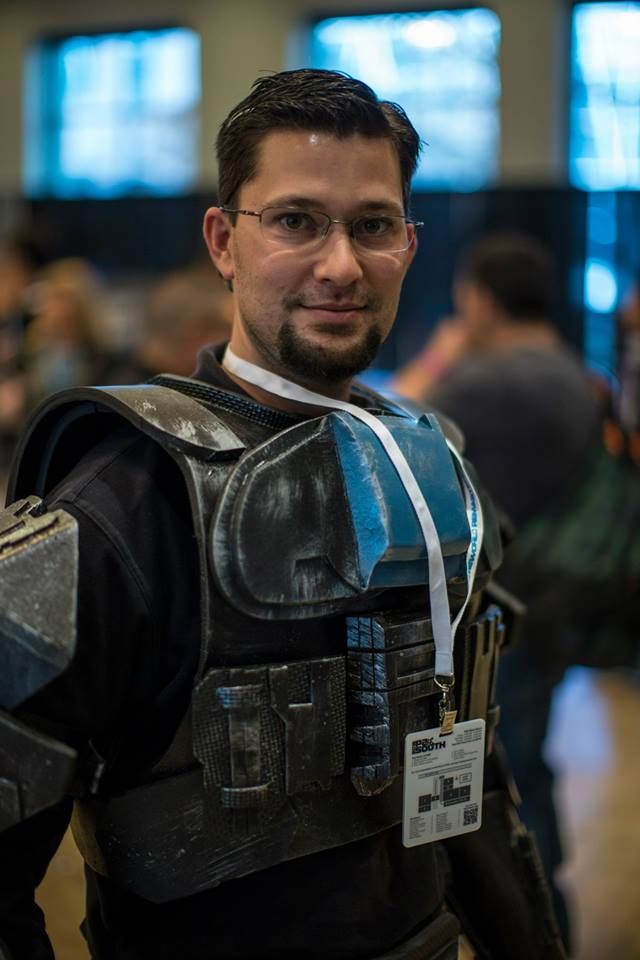
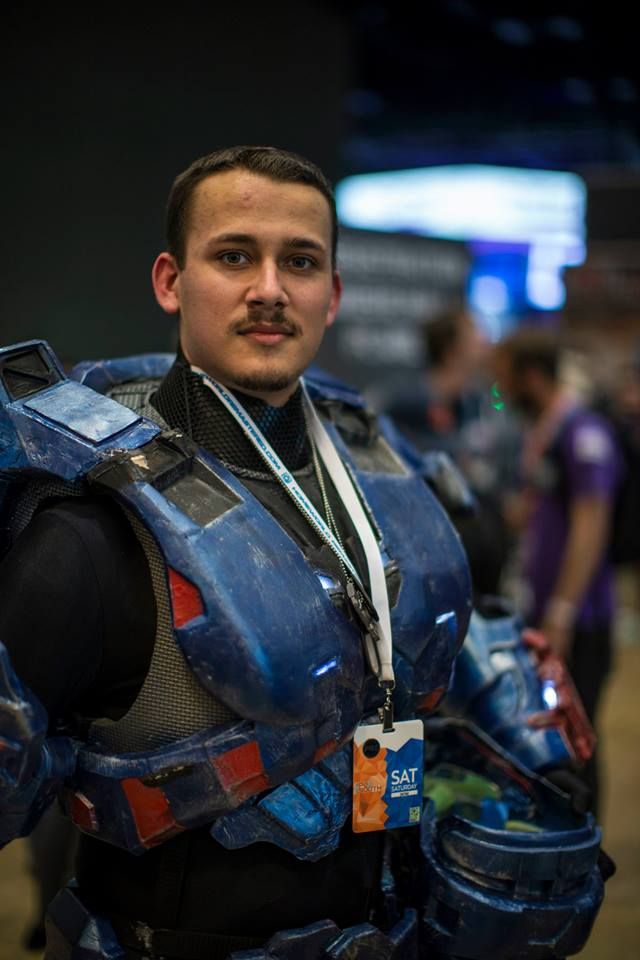
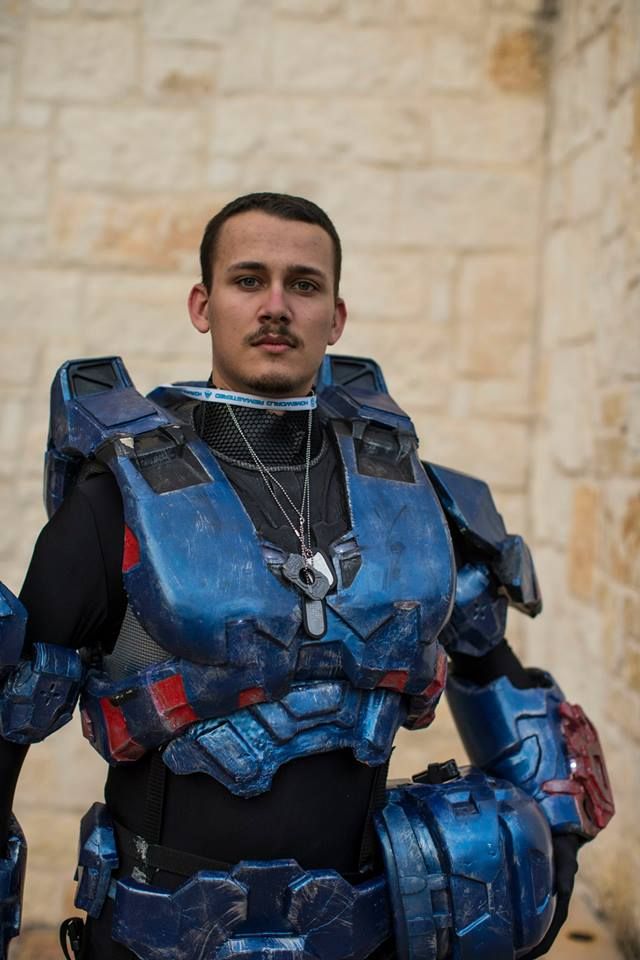
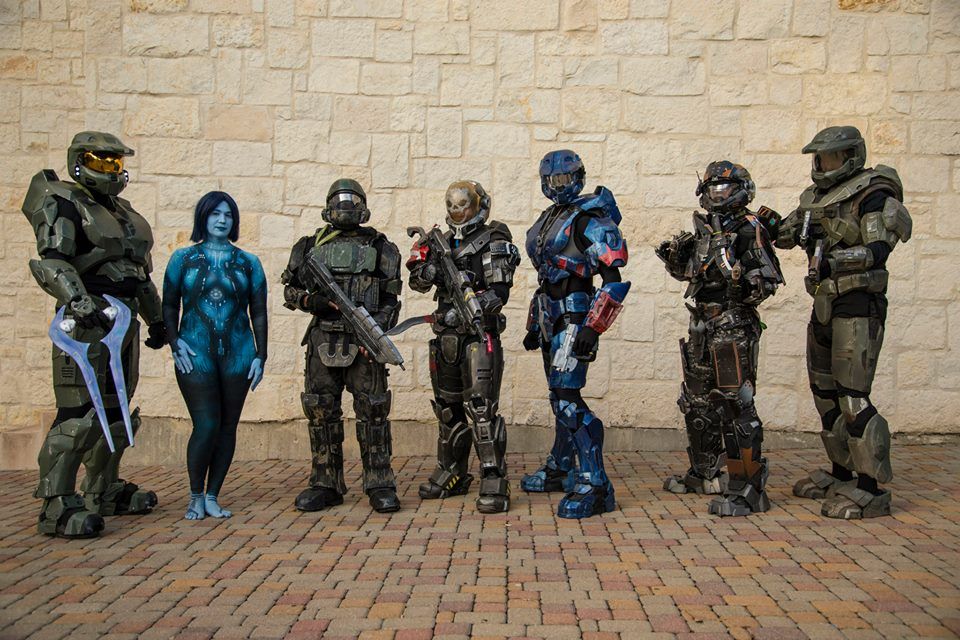
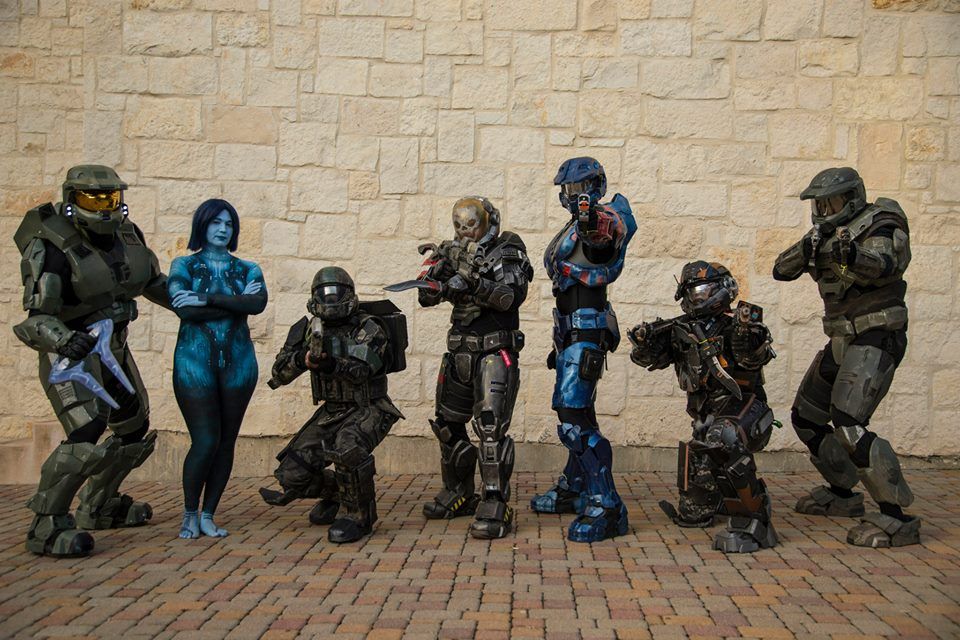
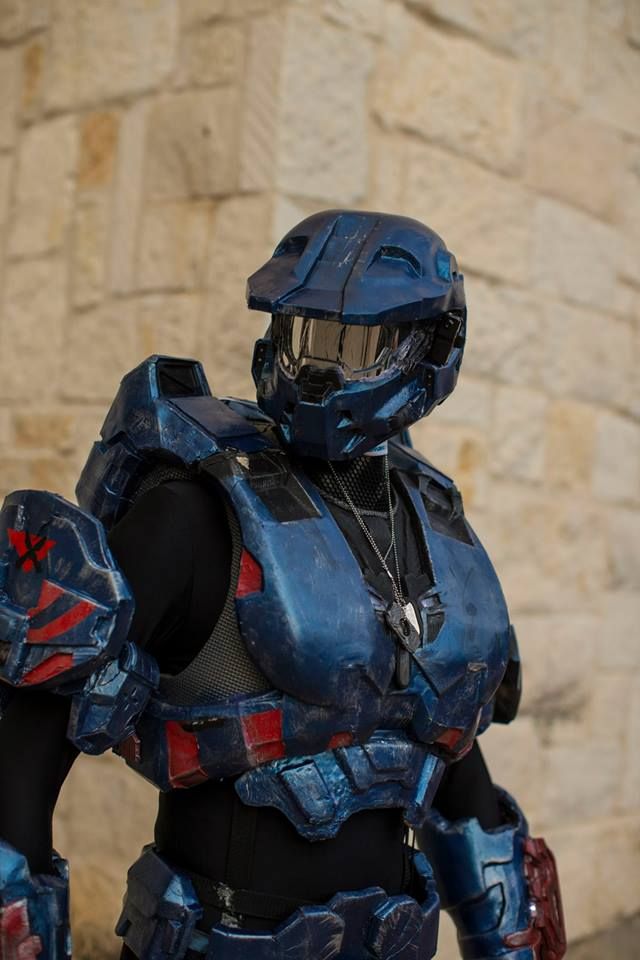
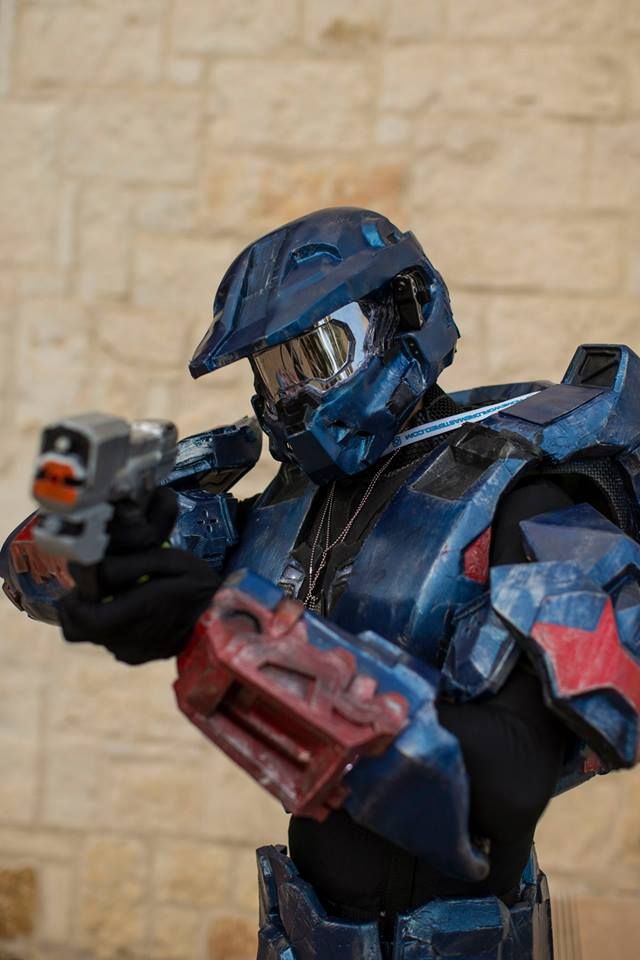
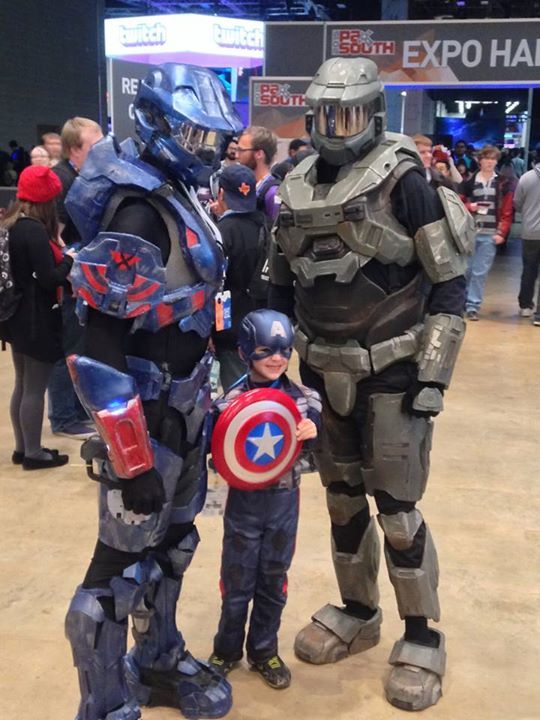
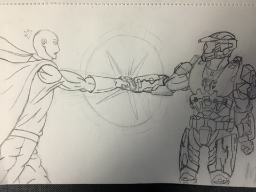
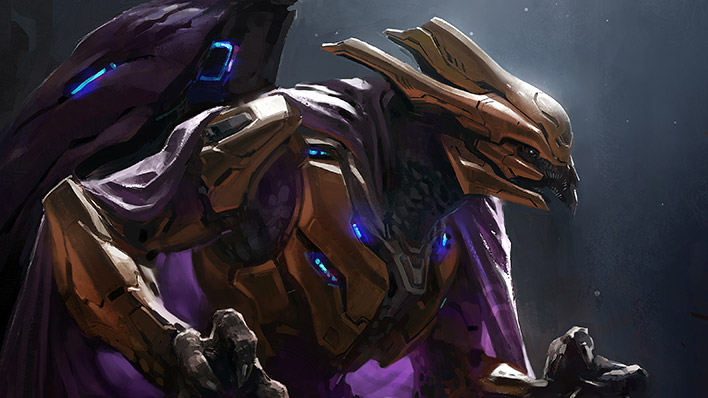
But man, that armor! I've seen pictures of fan-made suits like that and yours is definitely up there with the best of 'em! If you don't mind, would you care to elaborate on the process you went through to build it and your weapons?
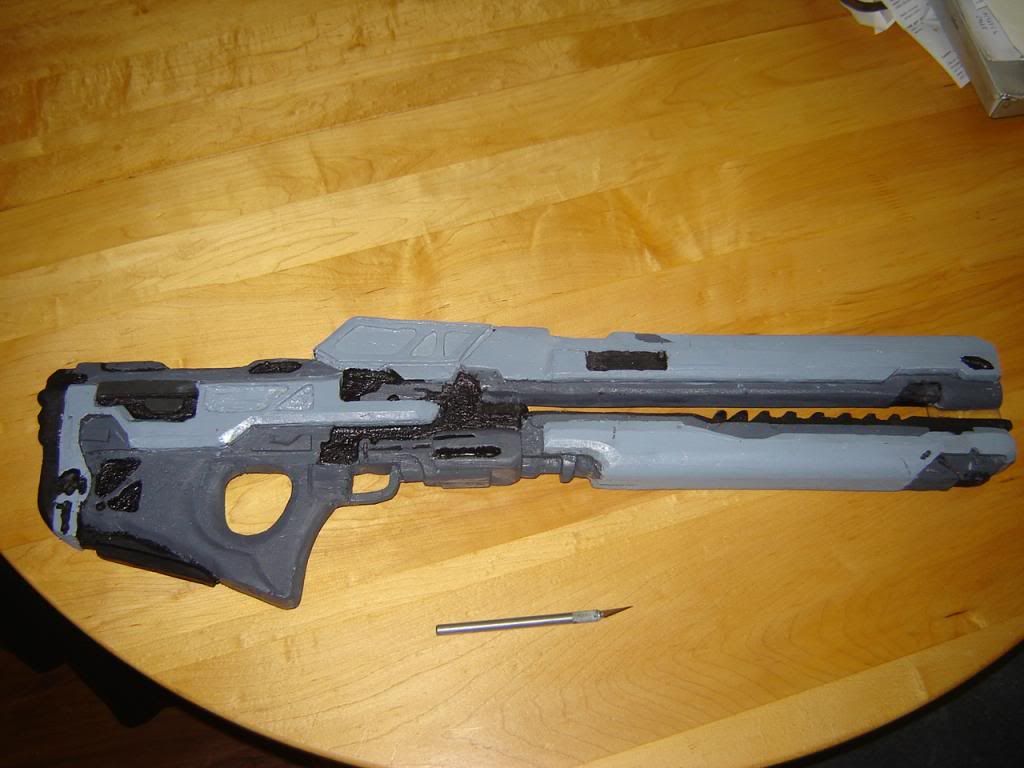
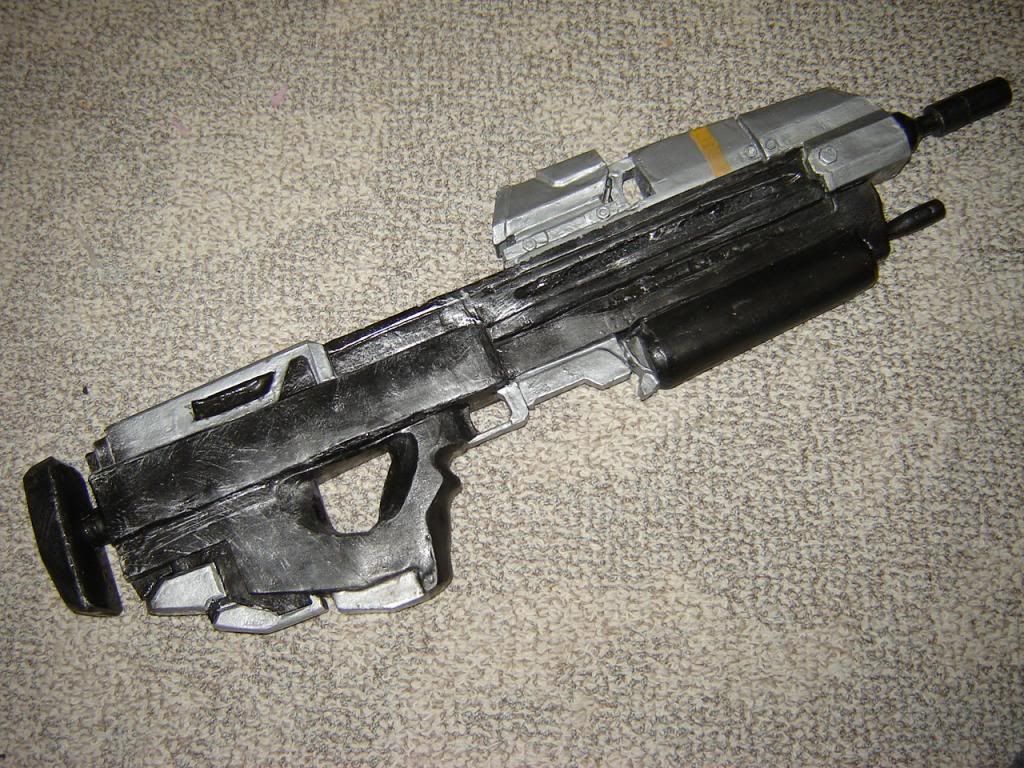
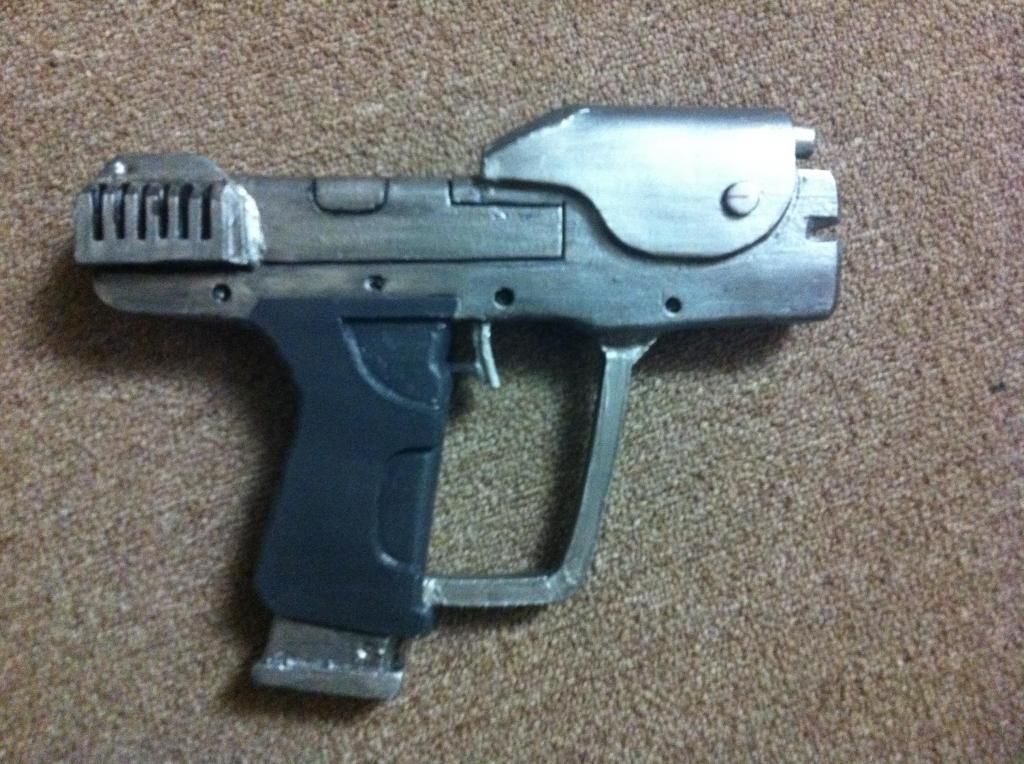
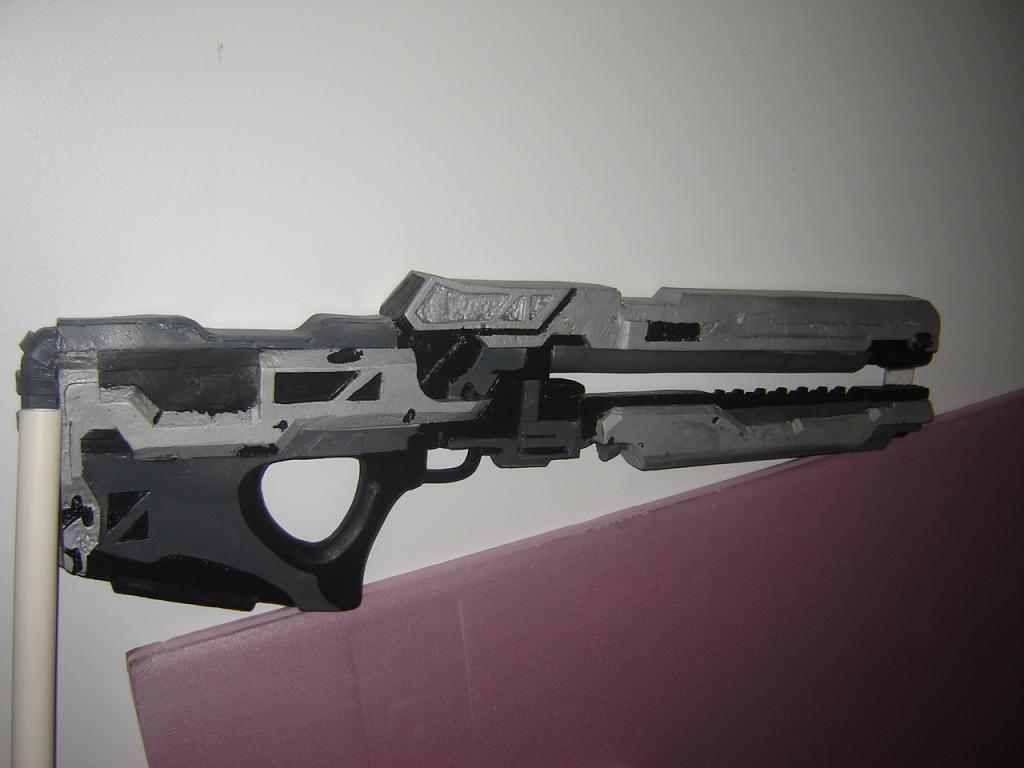
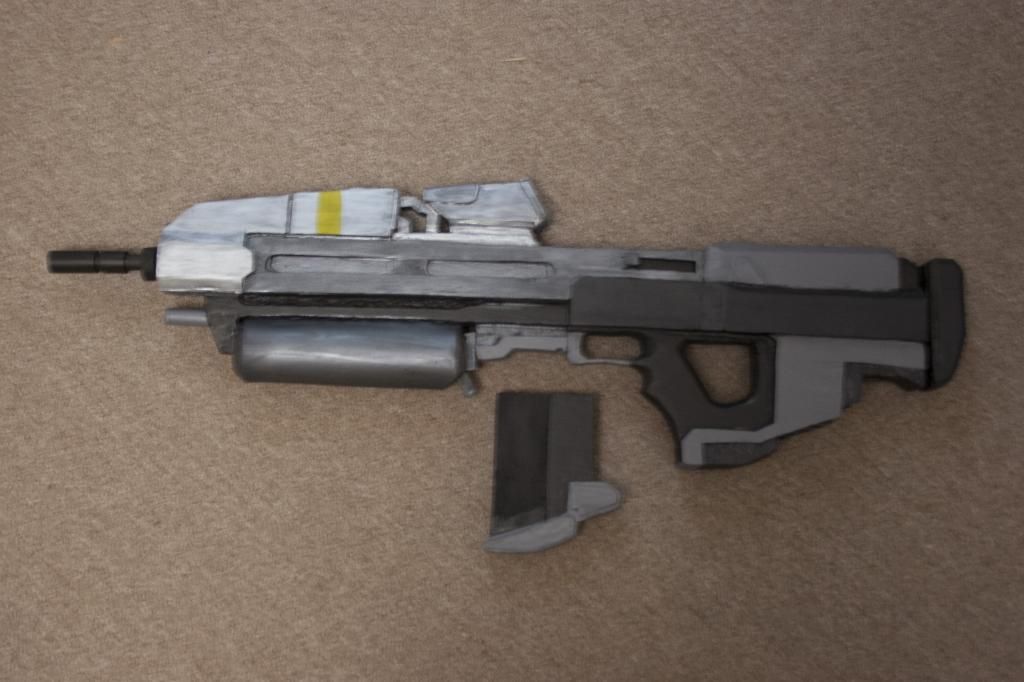
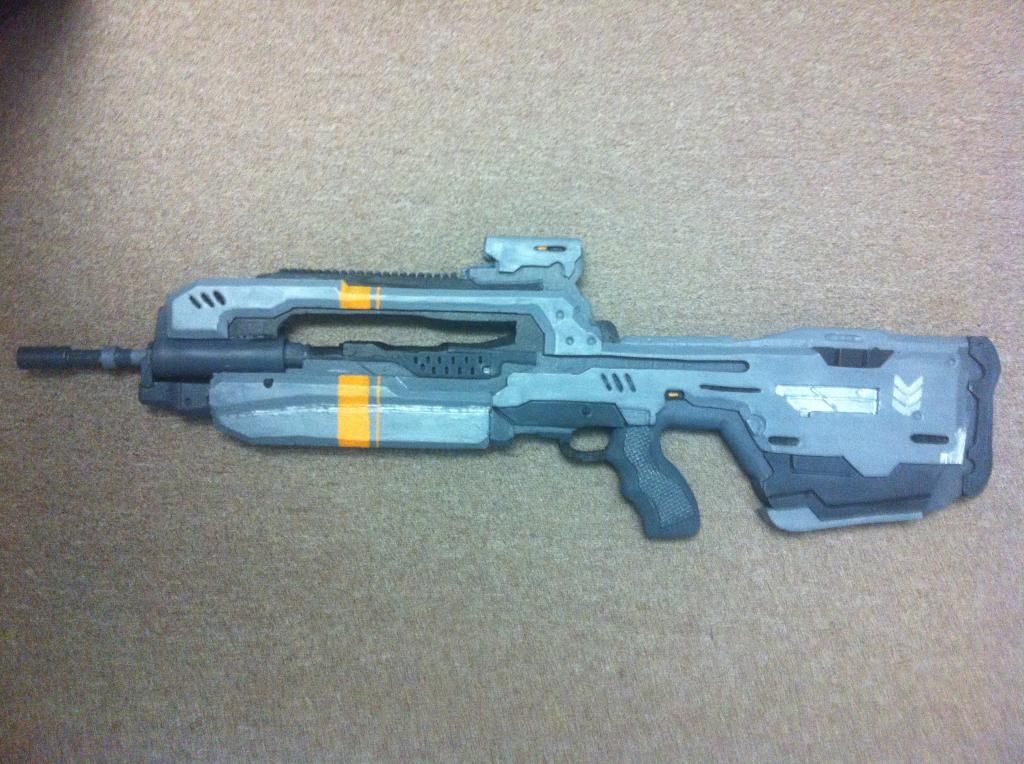
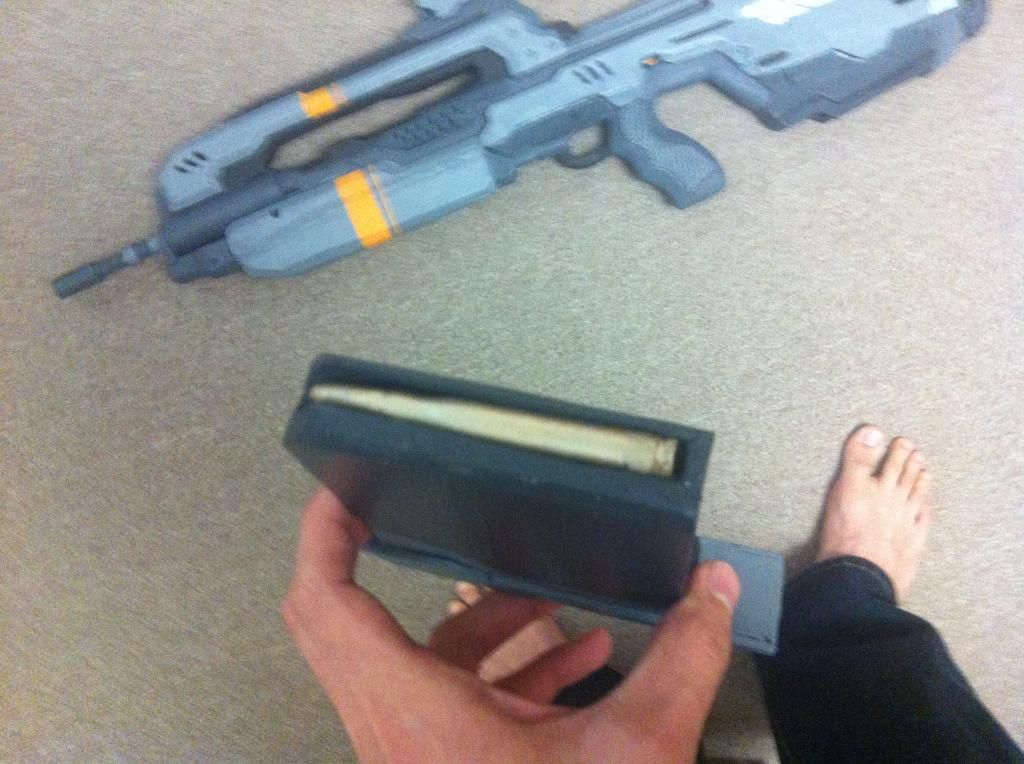
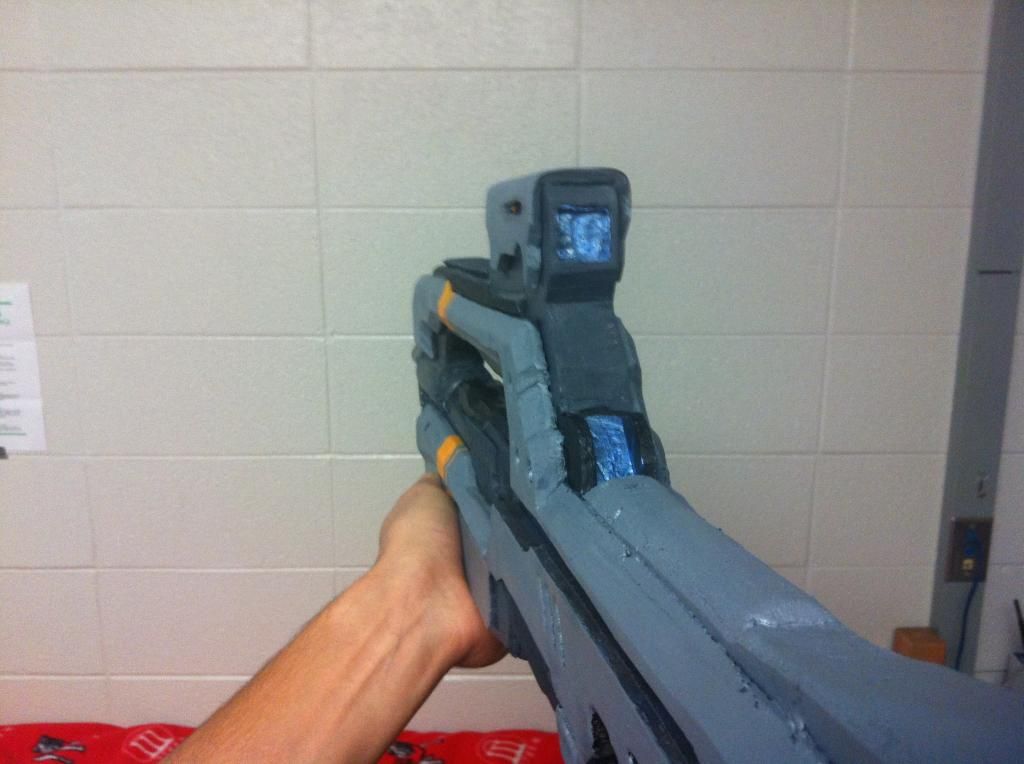
it is like anything else there is a process for me guns are easier but that is because they can be looked at in 2 dimensions.
first is looking for the gun you want.
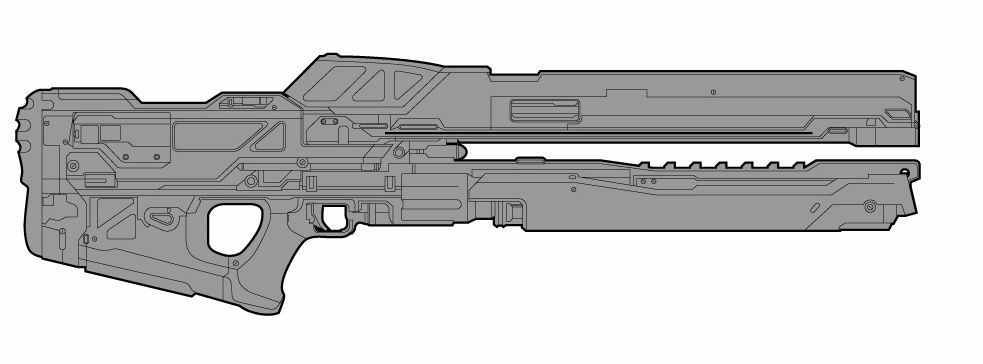
from here you scale the image to the size you need (for a rail gun I guessed at the size and so my first was to small but my second was about 3 feet in length)

then it comes to the material you want to use ( I use Extruded Polystyrene insulation boards for a base and then I usually build up from there with different types of foam)
then is the build style: outside-in
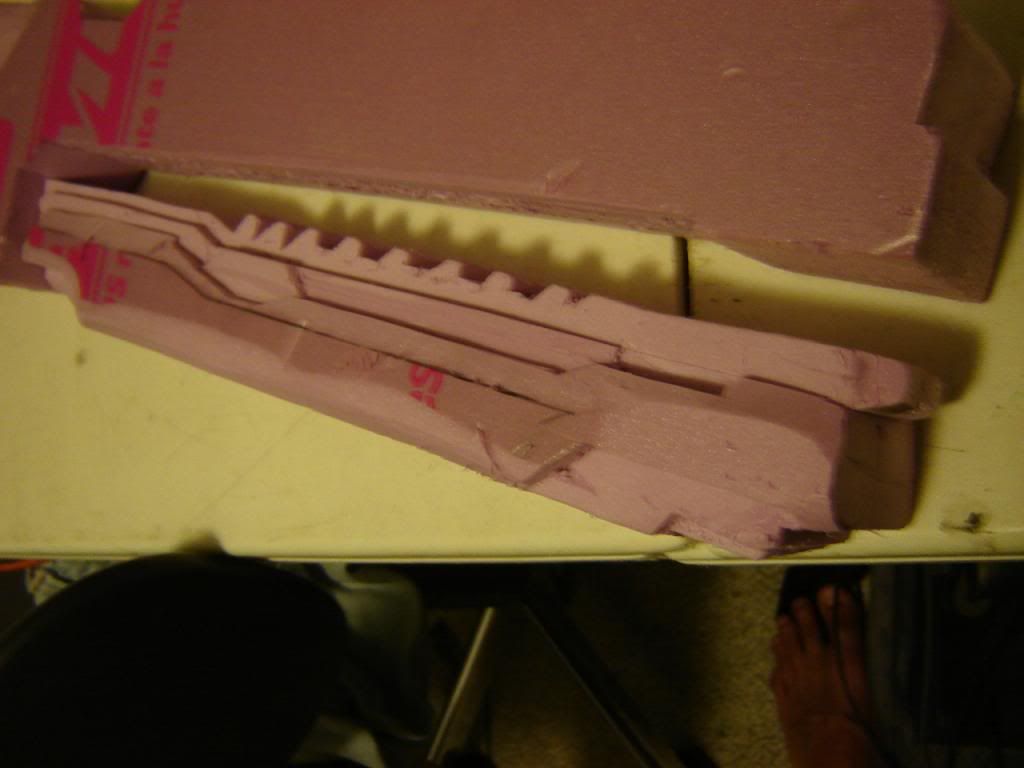

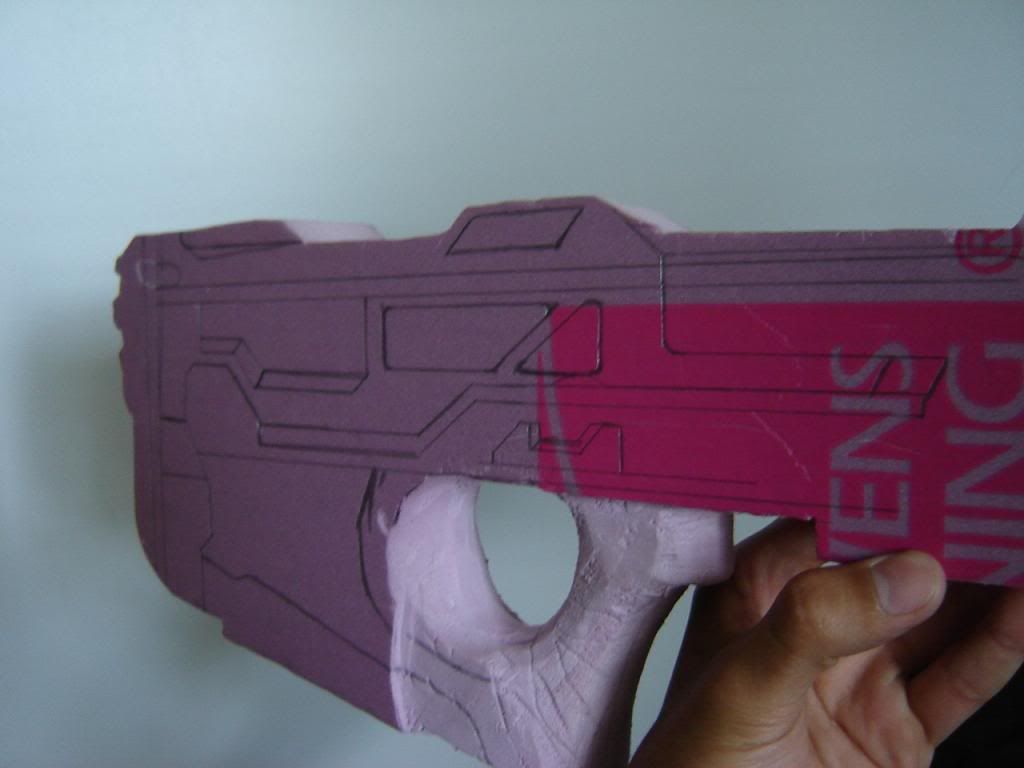

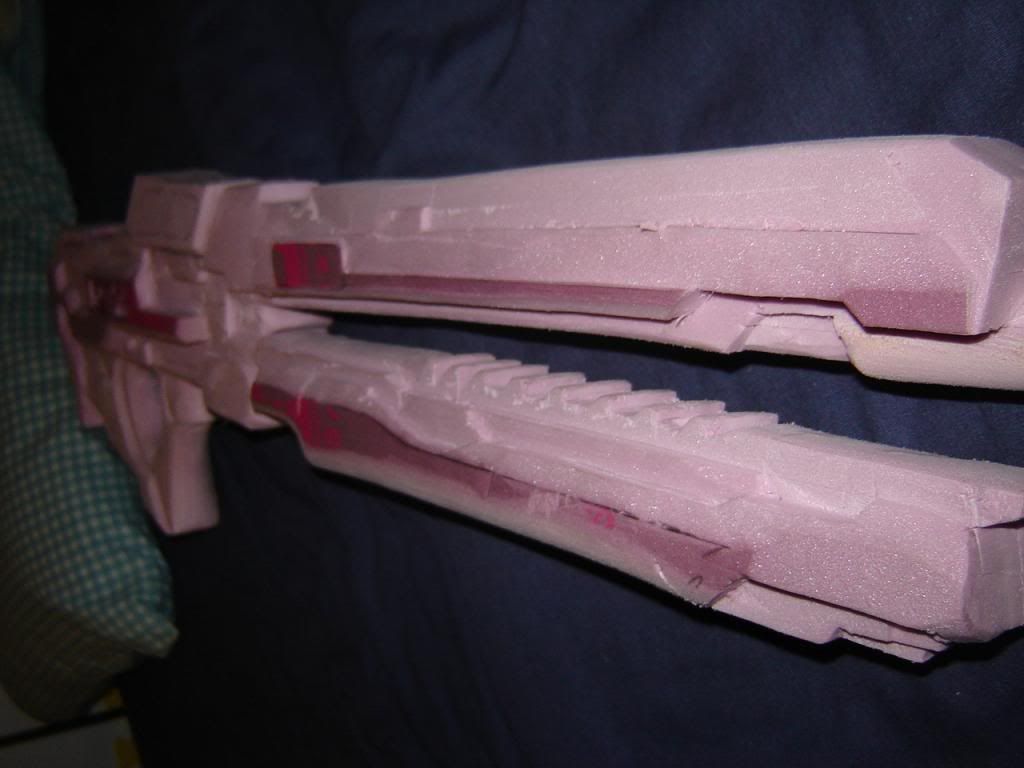
Or: Inside-out
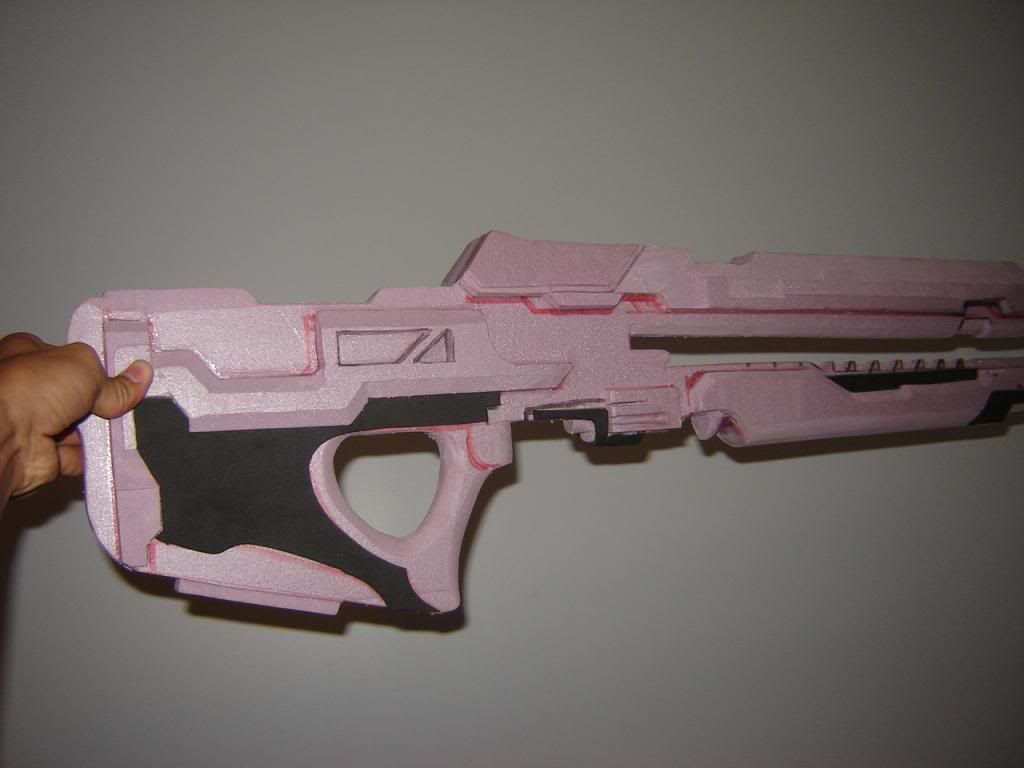

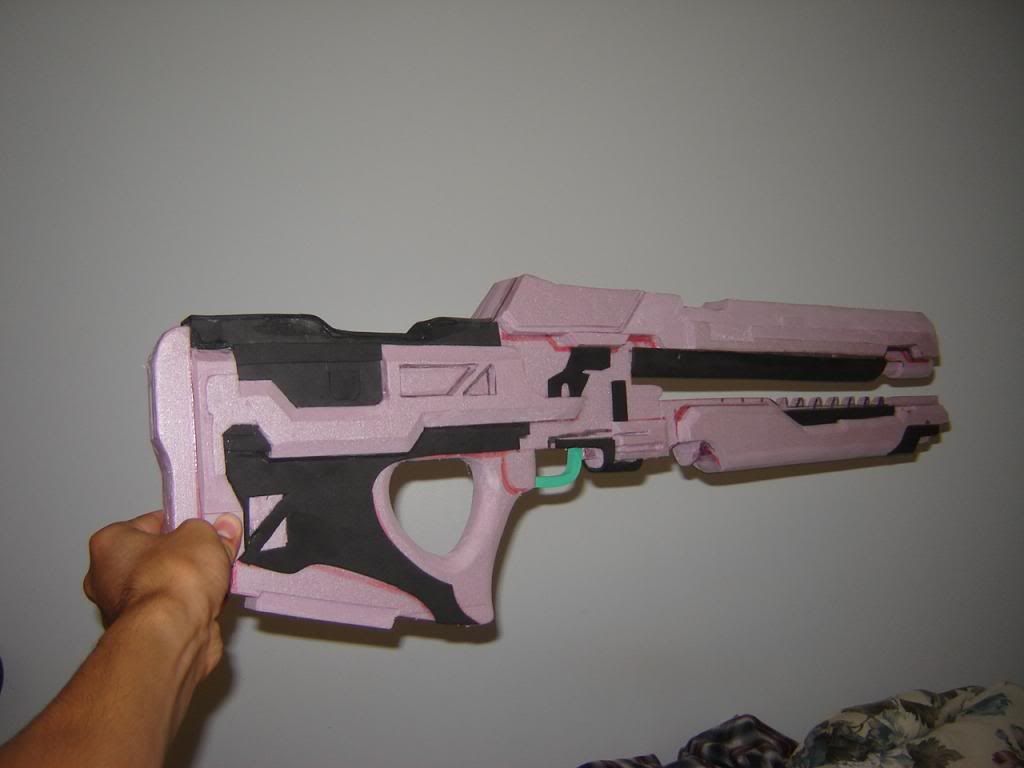
when it gets to painting I use mostly acrylic hand paints for weapons so I build by color.

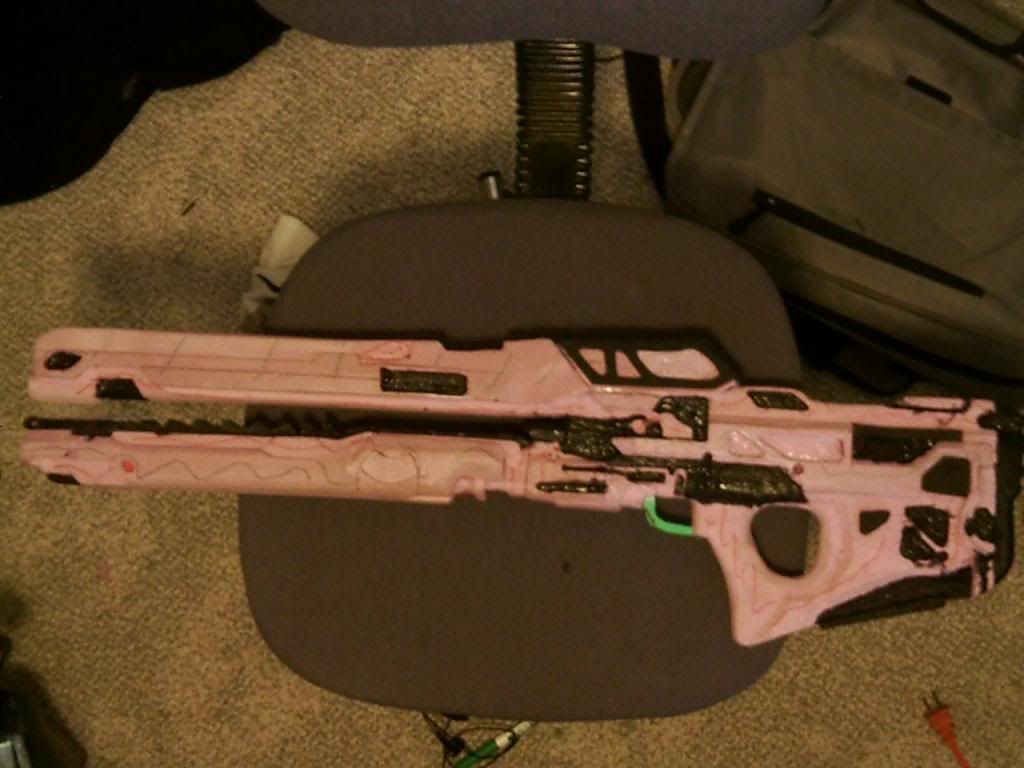
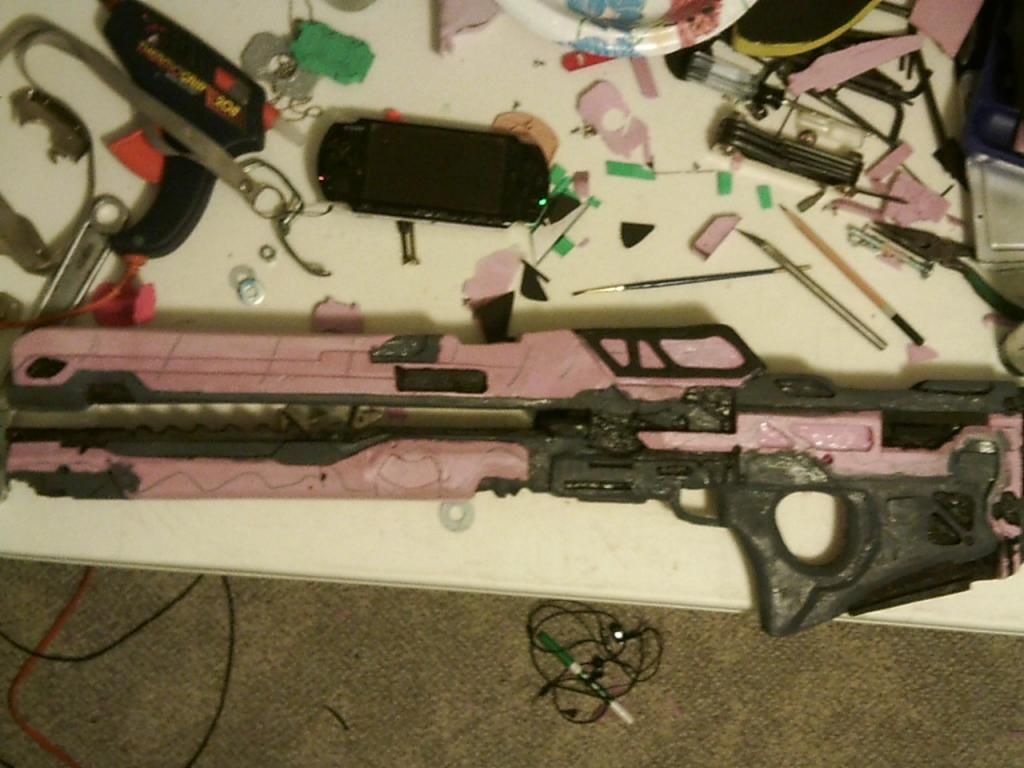
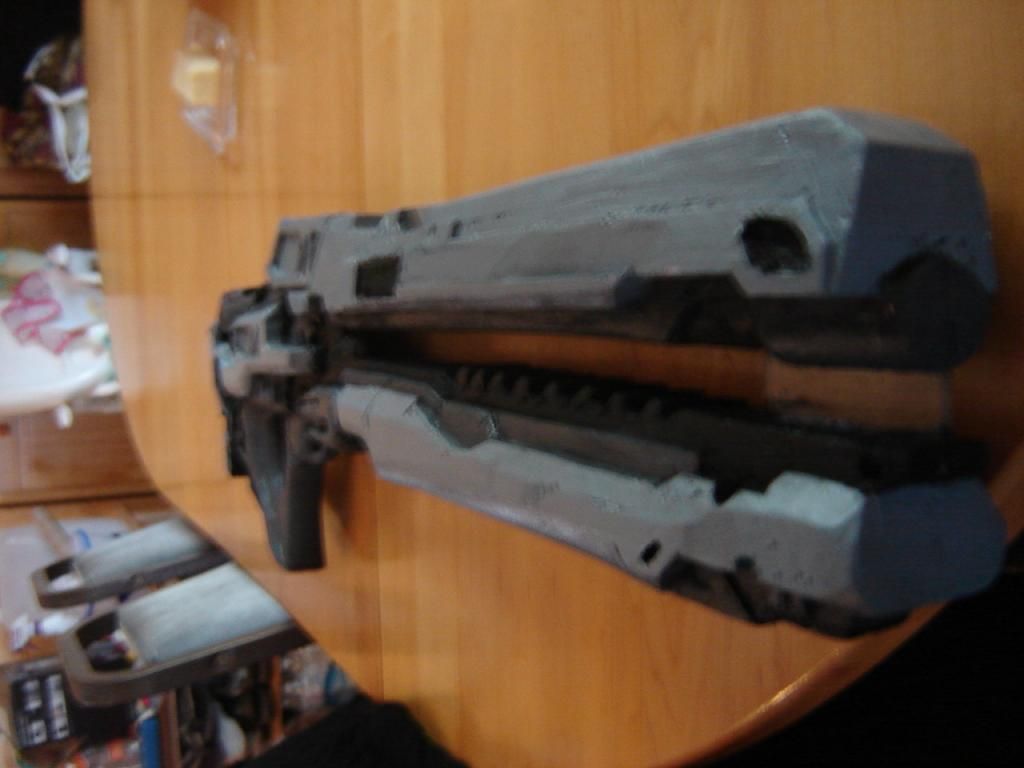
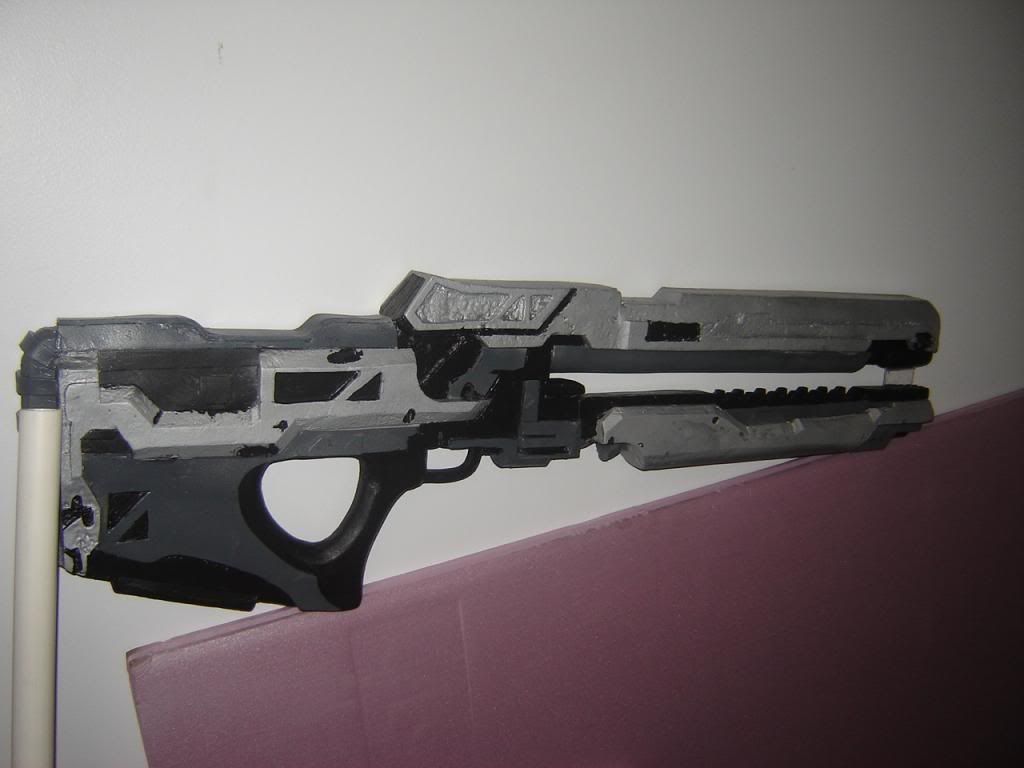
And presto after about 10-20 hours of work you have a gun.
Armor on the other hand is a completely different story as it is more three dimensional.
step one in the process is to 3d model the armor piece (which luckily for me the halo fan-base had already done the work for that)
step two is to convert the 3d model to a usable form (in my case I have a program called pepakura designer; which generates a paper puzzle of sorts that you glue together to finish the physical model) this program has a process called unfolding which was also done by the large armoring halo community.
step three is to actually build the paper model (using 110lb cardstock paper for added stiffness)

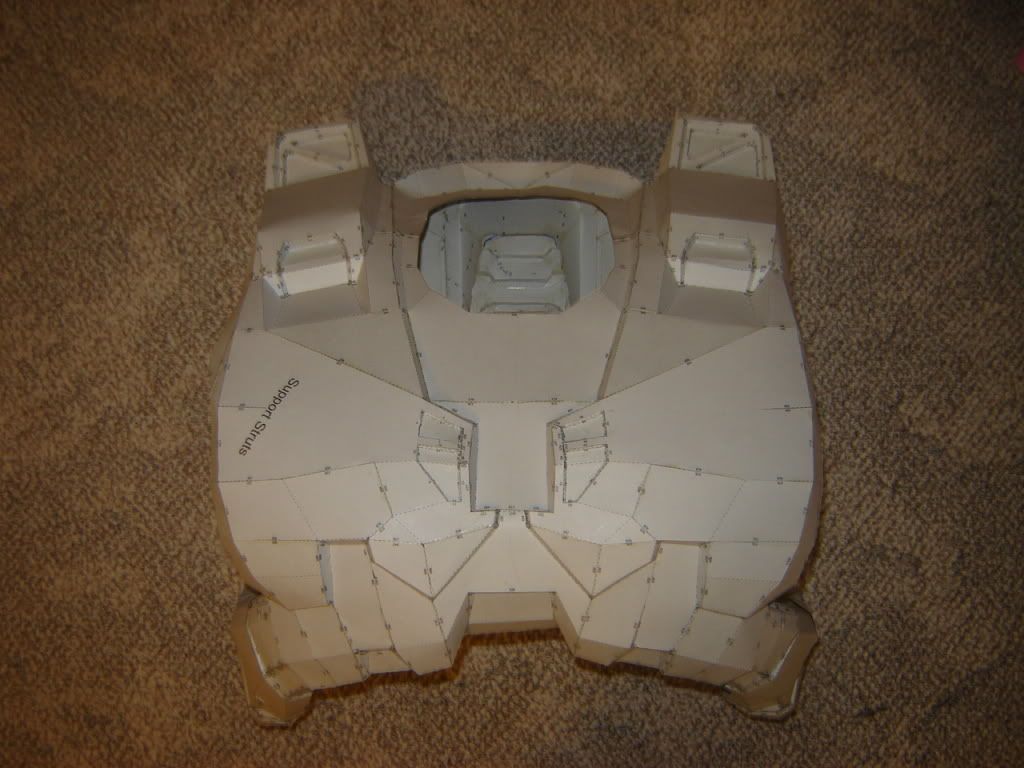
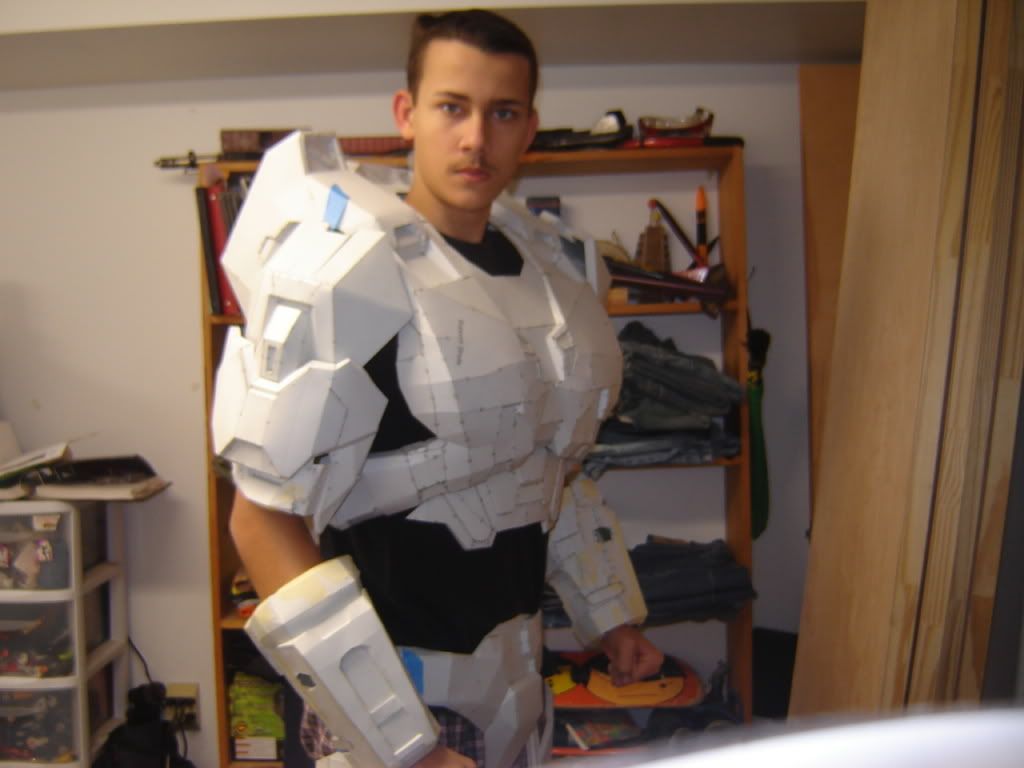
step four is hardening the paper models (because paper doesn't hold up well to continued use)
This is accomplished by using fiberglass resin (which hardens nice and solid)
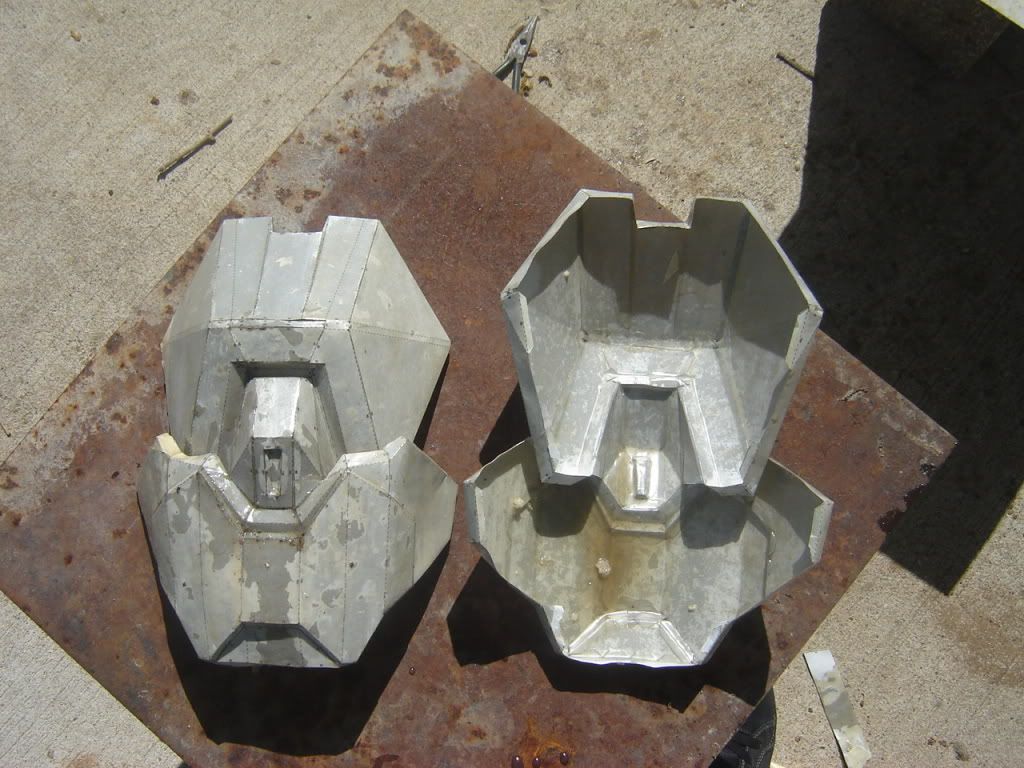

step five is detail (sections of the armor that are incorrect are built up using bondo (a body filler used on cars) and then is sanded to the desired effect.
note the reddish colored material

step six is some what interchangeable but this is where i would advise putting in any electronics (lights and such) unless they are going to be exterior then do that after paint.
I made a couple you tube tutorials for that.
step seven is painting (Yay this is the fun part) this marks the final strech.
after you have decided on the colors you want on your armor you put on a coat of primer (usually a satin or grey color)
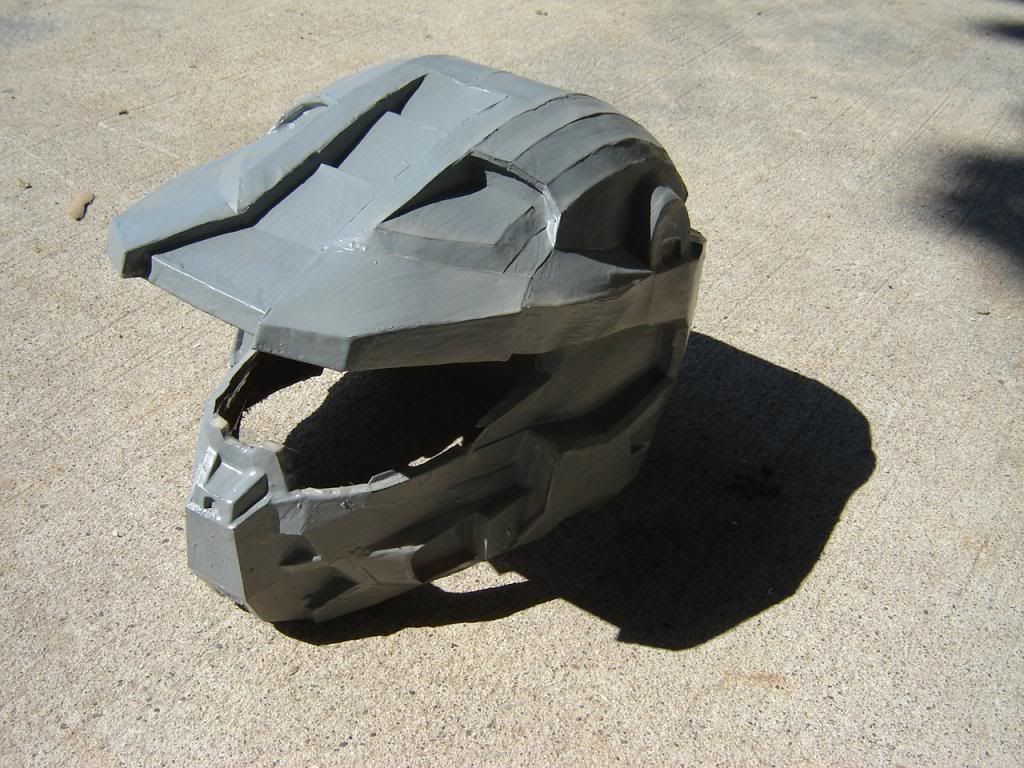
After the primer has dried you put on the primary color.
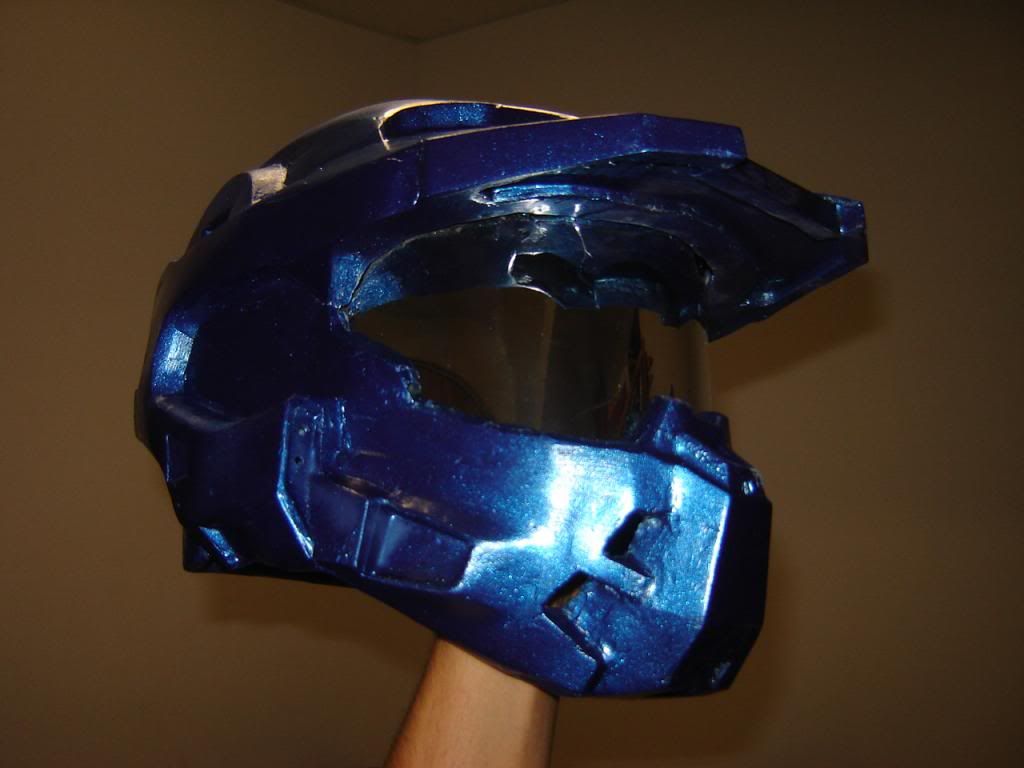
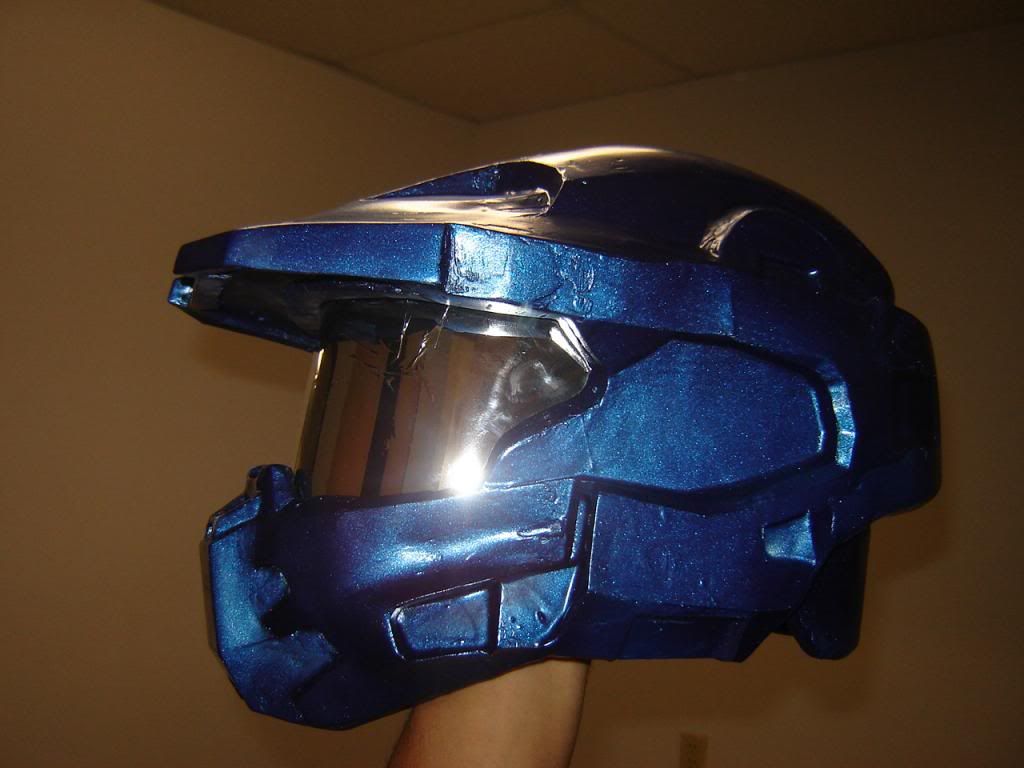
then you build up the secondary colors and weather the armor (weathering is basically making the armor looked used by marking it up using blacks, silver, and browns)
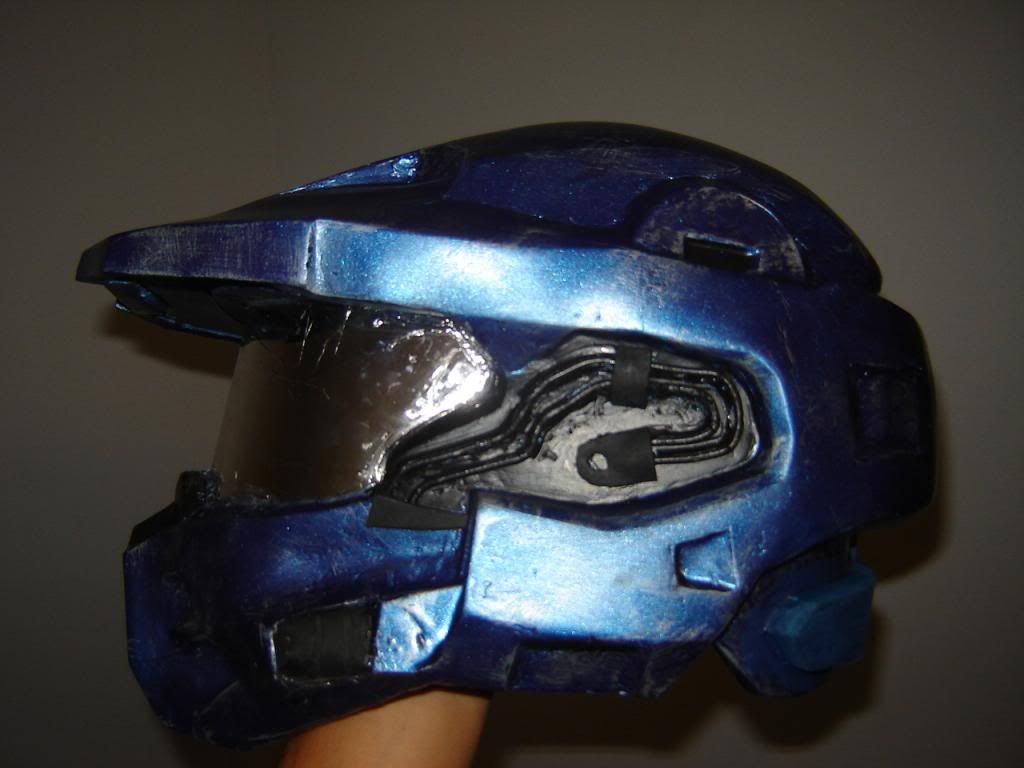
step eight is to get or shape the visor for the helmet. this can be done by purchasing a visor (like a motorcycle helmet)
or by shaping the visor yourself (uing heat guns or a vacume table) and then attaching a reflective film to the visor.
the last step is strapping and making sure that the armor will stay where it is supposed to.
this pertains mostly to thighs and shoulders.
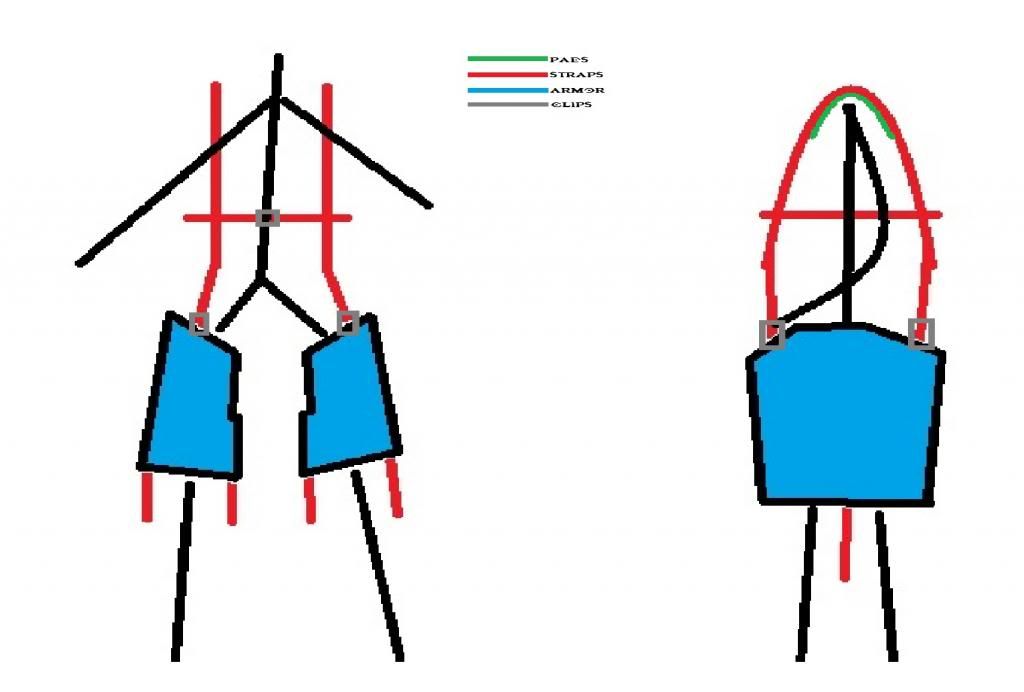
the average build time for a full suit is about 5-6 months with high qouality builds taking sometimes as long as 2-3 years.
my armor's mk I version took 13 months in total
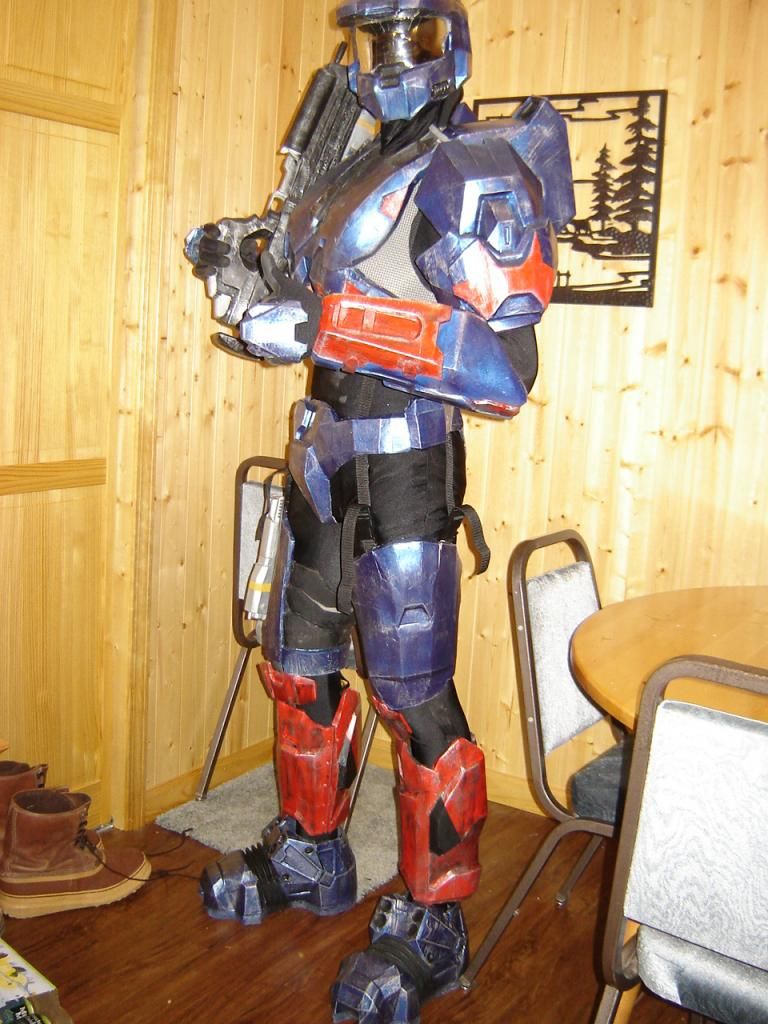
Well I hope this provided an insight on how I have built some of the things that I have


